
Easy Valentine's Gift: DIY Painted Terra Cotta Pots for Your Valentine

Today, I’ll be sharing my first DIY project on the blog! I’m partnering with my friends at Fractal Flora to bring you a DIY Terra Cotta Succulent Pot. With Valentine’s Day coming up, this would make a great gift for your friend or loved one who loves plants. It’s customizable to suit every personality (you can choose your own color/color combinations/design). AND it’s also an inexpensive project to take on (find all the supplies at your local plant and craft shop).
Because this DIY is SO versatile, you can take it beyond Valentine’s Day and also use it as:
- favors for your next event (or even your wedding!),
- a birthday or holiday gift,
- a housewarming gift for a new homeowner,
- or a “just-because” gift for your favorite plant-loving friend.
Here’s what you need:
- succulent or any potted plant you wish to use
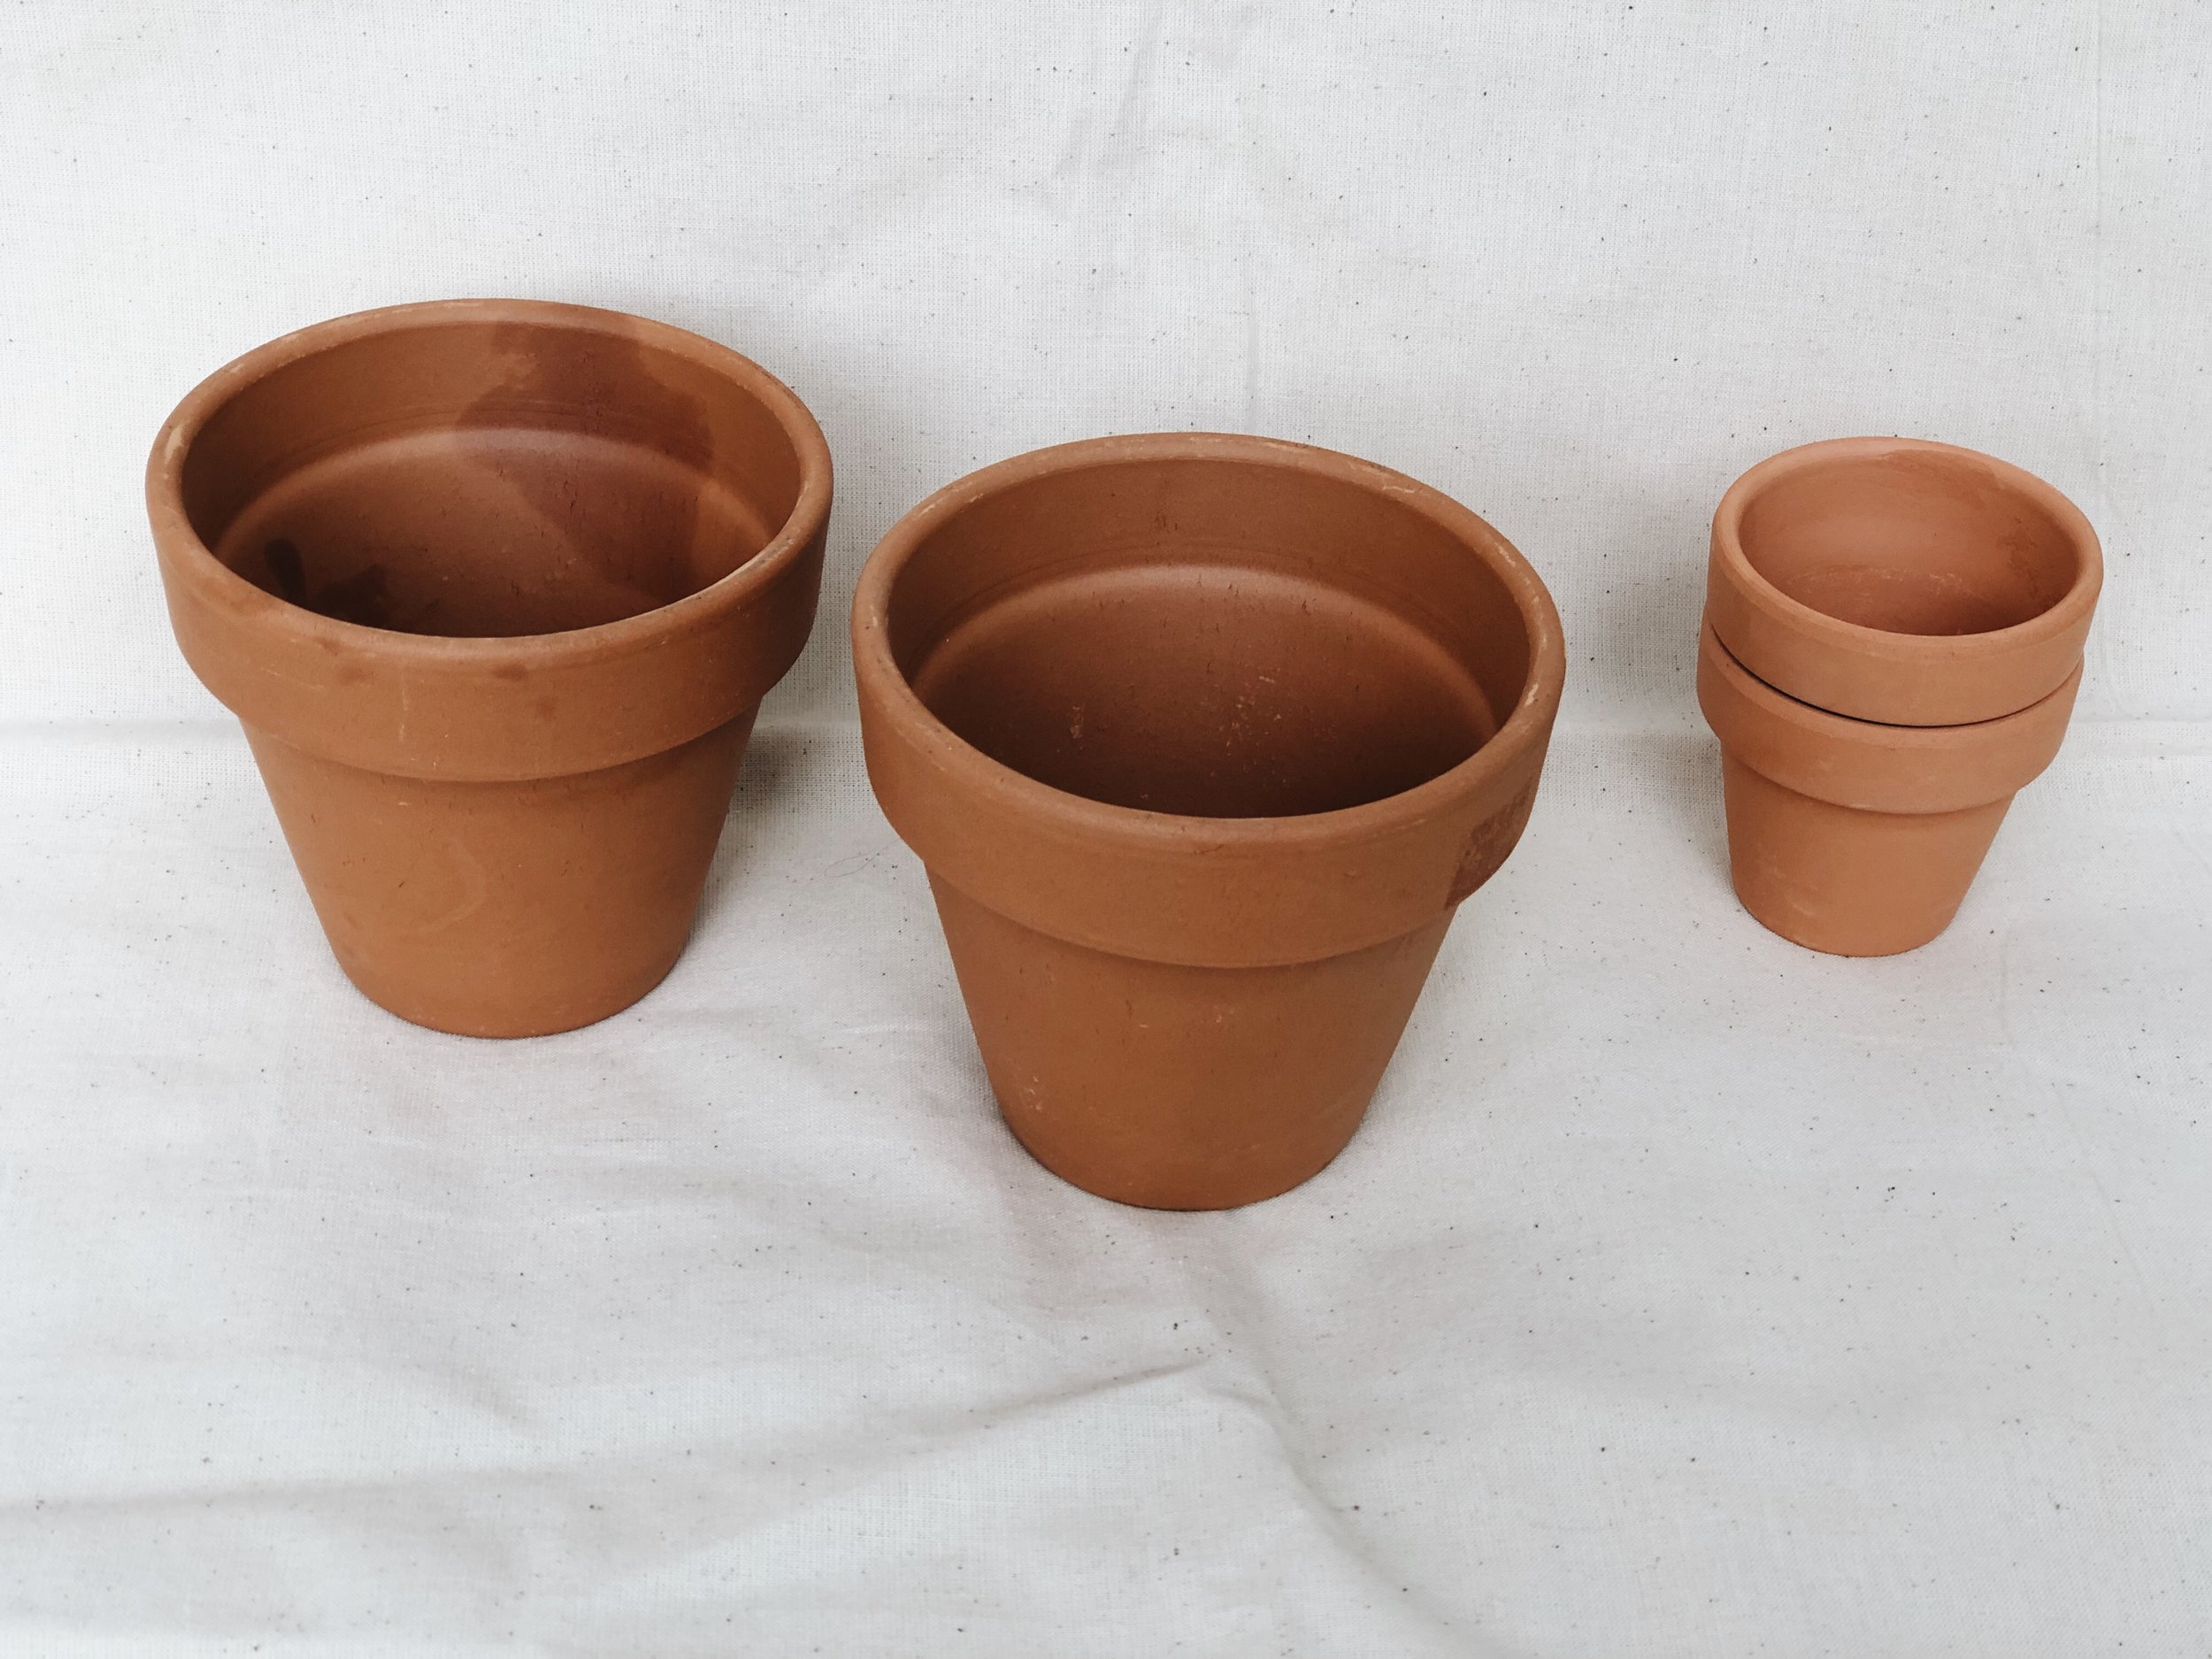
- terra cotta pot (any size)
- acrylic paint
- paint brushes
- paint pens
- sealant spray

First, you’ll want to take your terra cotta pot and give it a good cleaning before applying paint. Using a rag, rub off as much dust and dirt as you can and leave it to dry completely. This will allow the paint to stay on better. Because of the terra cotta’s porous nature, it might take a few hours for it to dry.
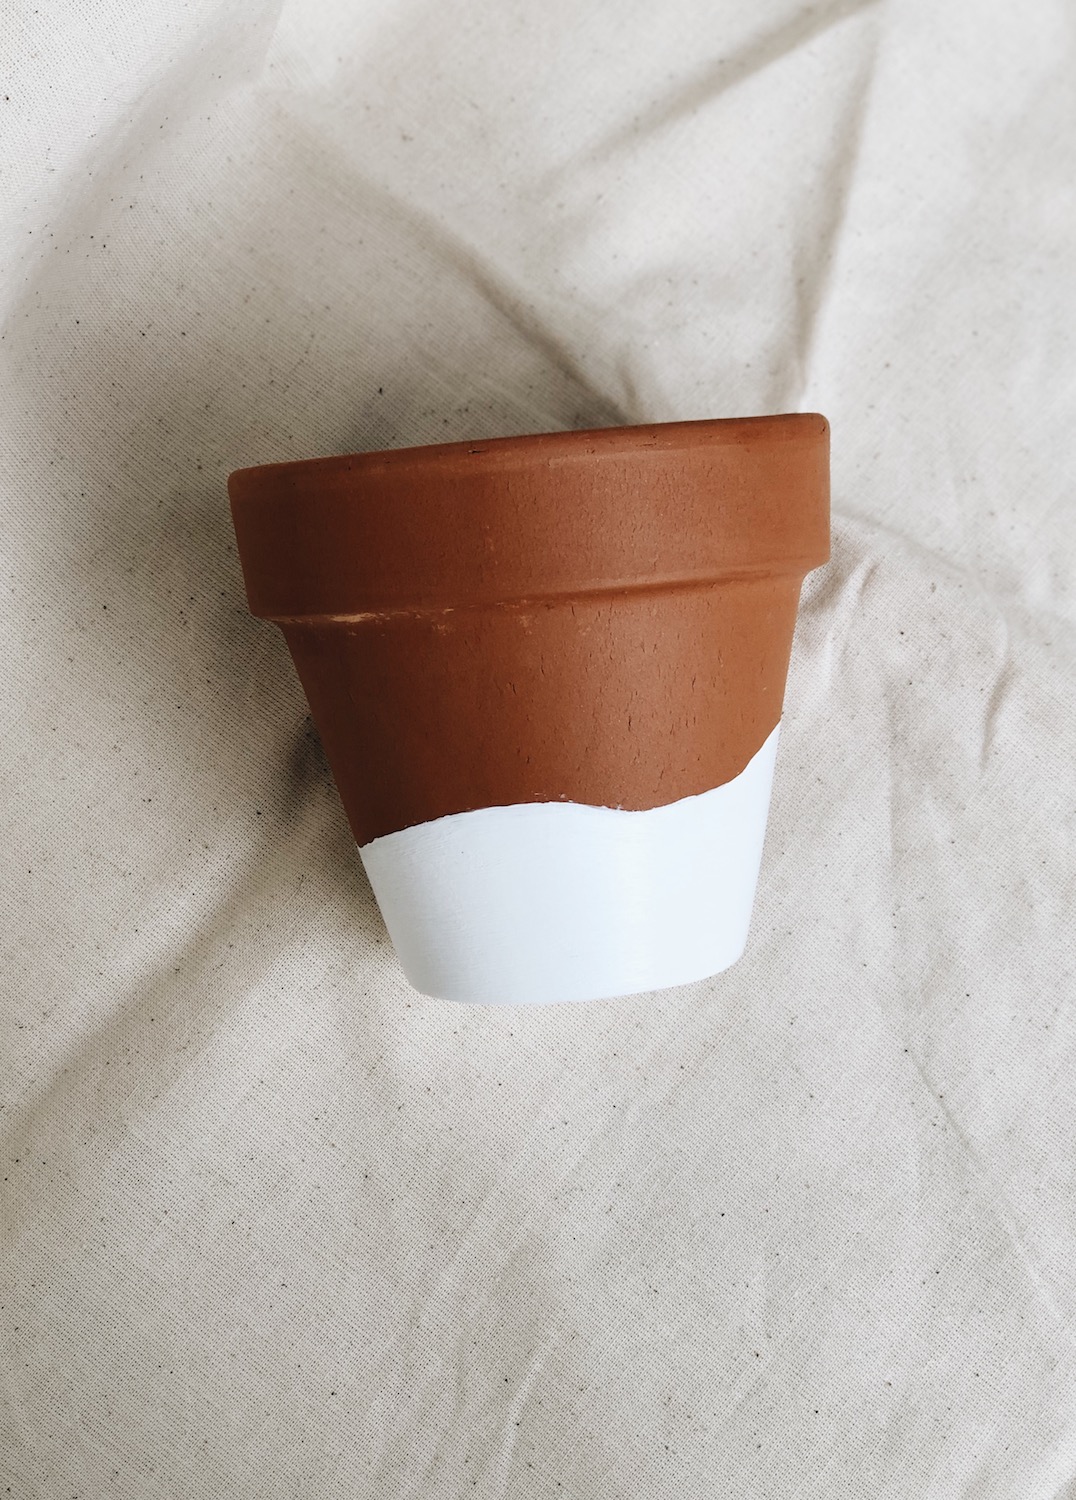
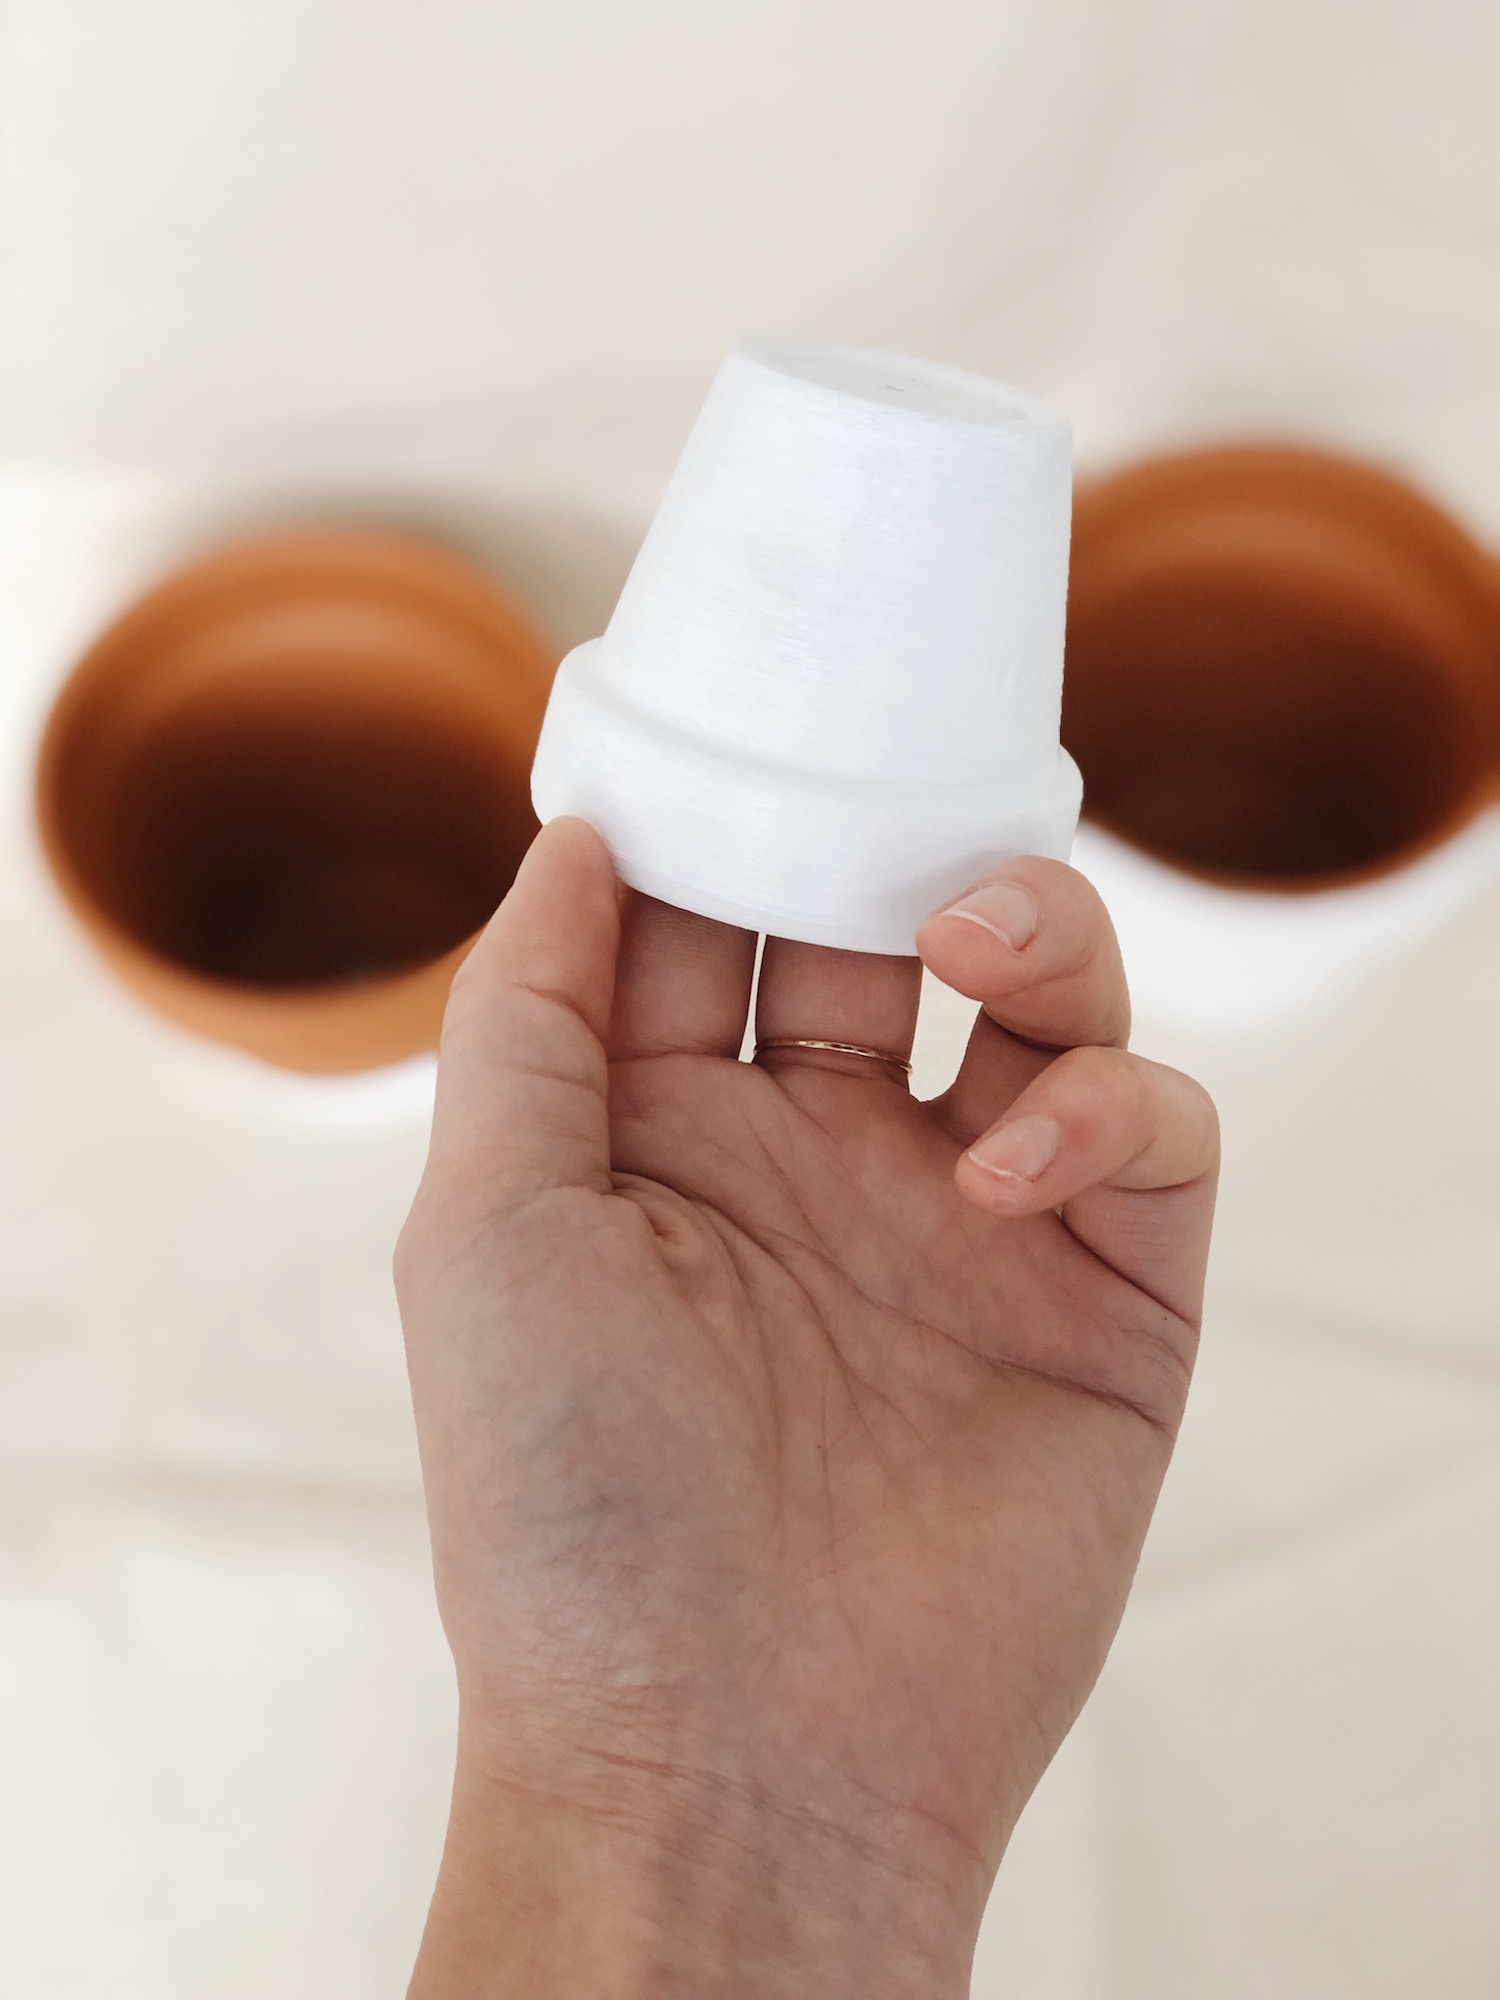
Once dry, you can apply your acrylic paint in any design you’d like. You can get as creative as you want and use painter’s tape to tape off sections of the pot so you get clean paint lines. Or you can freehand it and do something with abstract lines. You can also use different colors if you like. Just make sure to let each layer dry completely before applying the next layer! Otherwise you might find yourself with muddled colors.

Once your paint is dry, you can now add some lettering to personalize the design. You can letter the name of the recipient, the name of the plant, or even some fun phrase or quote. (The bigger the pot you use, the more space you’ll have for lettering. With smaller pots, you may only be able to fit a few words. So plan accordingly!)
I suggest using a paint pen to letter on the pots. You’ll have better control than trying to paint the letters on with a paint brush. My favorite is the Sharpie oil-based paint pen. They’re one of my go-to paint pens for lettering on most materials and you can easily find them at your local craft store.
Pro tip: Writing on a curved surface will be a little more difficult to maneuver, so feel free to practice first without holding the actual pen. (“Air writing”, I call it.) Just to get a hang of turning the pot while you try and write.

I encourage you all to try your hand at lettering (remember: it doesn’t have to be perfect!). But if you simply don’t want lettering on your design, you can leave it as is for a more minimal effect. Or you can paint shapes and patterns to create a completely unique design without writing on it. A friend of mine likes to buy plain clay pots for her plants, and then use a paint pen to create her own geometric designs on them. The possibilities here are truly endless.
Once you’re done designing your terra cotta pot, let all the paint dry and then spray with a sealant spray. This will help to waterproof the design so when you water your plant, the water won’t ruin all your hard work. Once the sealant dries completely, you’re ready to pot up your succulent or your desired plant, and gift it! (I recommend placing your new painted pot on a saucer or a surface you don't mind getting dirty. At least for the first few weeks. This will help you make sure the sealant is working and paint isn't leaking onto your beautiful counters. I always try to err on the side of caution, just in case!)
Design suggestions:
- To create a bright, minimalistic pot, try painting the whole thing white.
- Use spray paint instead of regular paint to cover more surface area and get a smoother finish. (Especially helpful if you want to paint the entire pot one color or use metallic colors!)
- Instead of adding lettering, use a round tip from the back of a paintbrush or to add a polka dot pattern to your design.
- Paint the rim and the body of the pot two separate colors to create a modern, colorblocked look.
- To write a personal message to the recipient of your gift, create a small flag or banner out of cardstock. Cut a skewer in half and tape the banner to it, then stick it into the soil.
- If you’re using this idea for your wedding favors, you can create a small banner like above with your (bride and groom’s) initials and the wedding date. You can also paint the pot in color(s) that coordinate with the theme of your wedding.
I hope y’all try out this easy DIY project and make it your own! If you do end up trying this out, remember to tag me in your photos (@carole.lola). I’d love to see what you all come up with! Enjoy, and Happy Valentine’s Day!
Please note that affiliate links are included in this post and I will earn a small commission if you purchase through those links. These are all products that I am comfortable recommending to my readers and all opinions are my own! Please let me know if you have questions about any of the items linked!